 Klubfunder Help
Appearance
🛠️ Creating a New Donation Campaign
✅ Step 1: Log into the Admin Dashboard
To create a new donation campaign, log into your club's dashboard as an Admin.
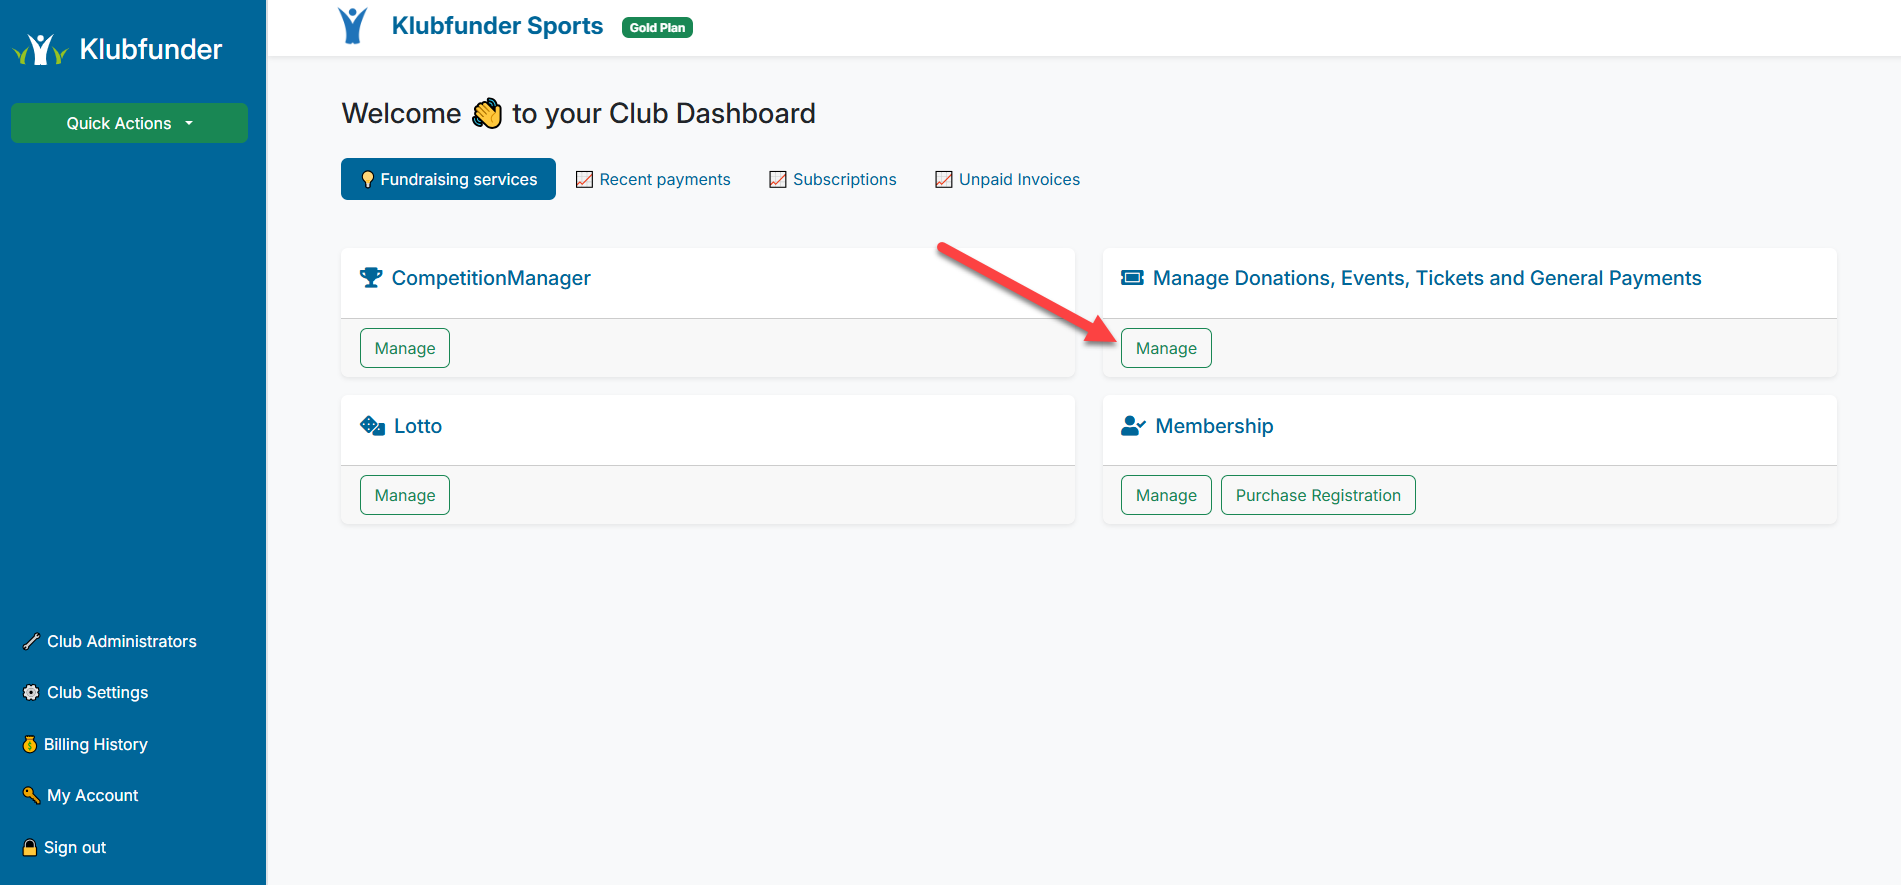
- Navigate to the Admin Dashboard.
- Click on Manage Donations, Events, Tickets, and General Payments.
🎯 Step 2: Select Donation Campaign
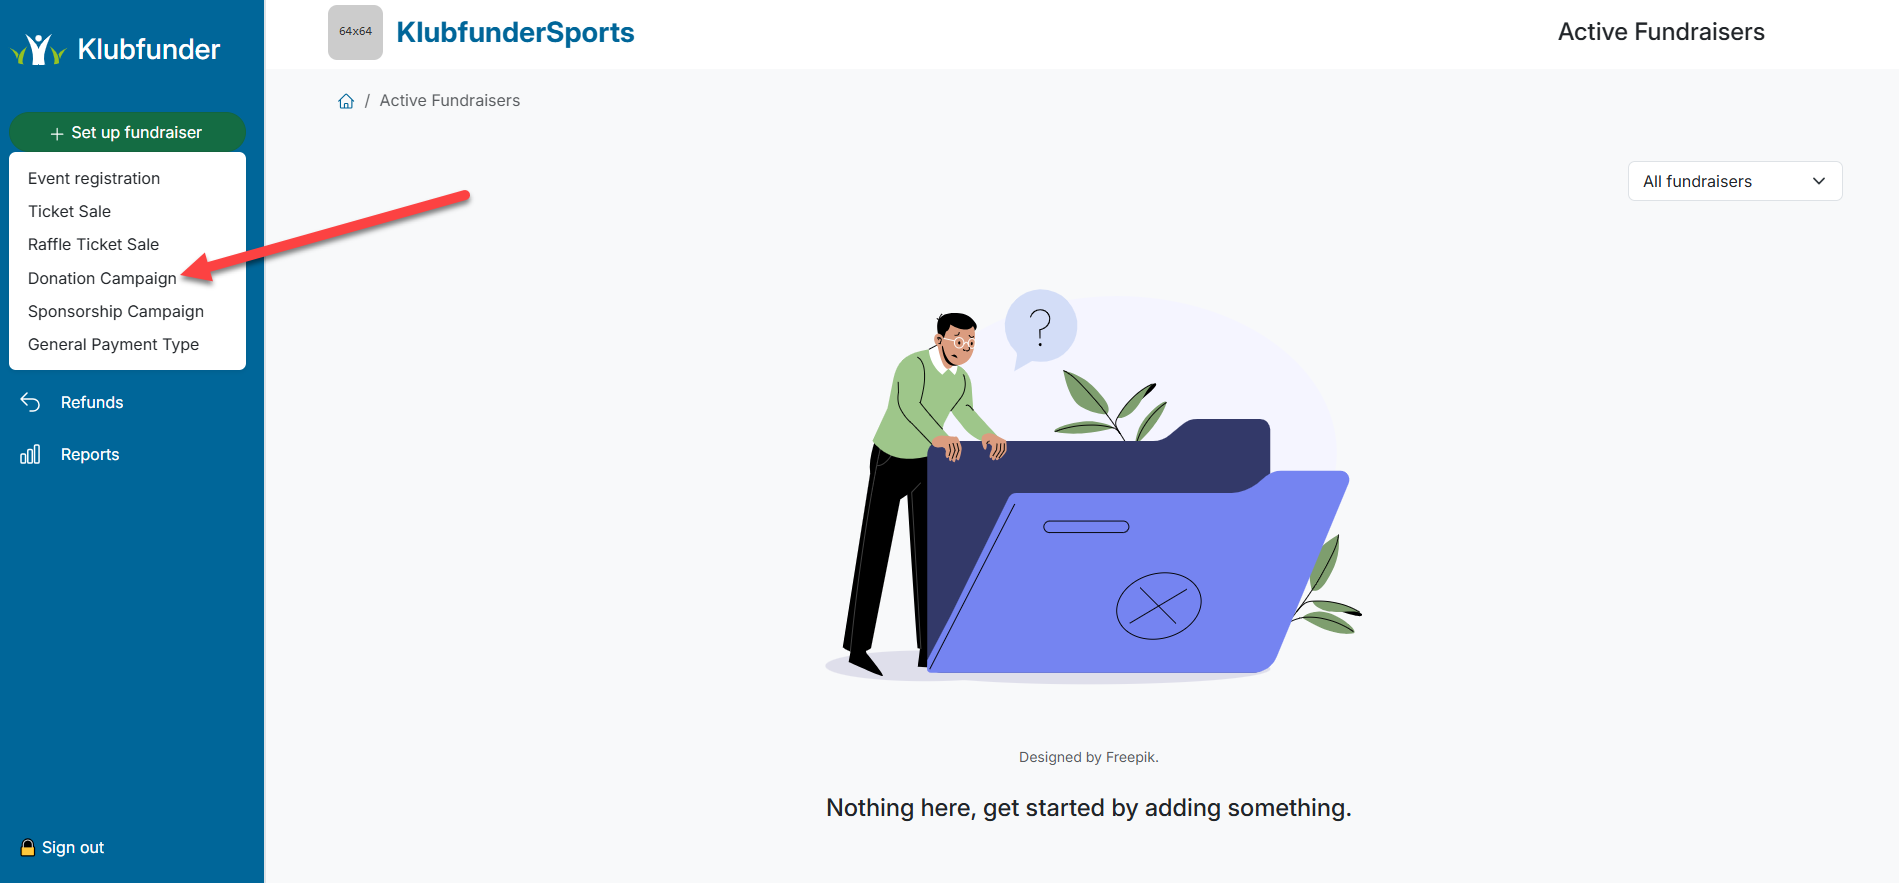
- Click the Set Up Fundraiser dropdown menu at the top left of the screen.
- Select Donation Campaign from the available fundraising options.
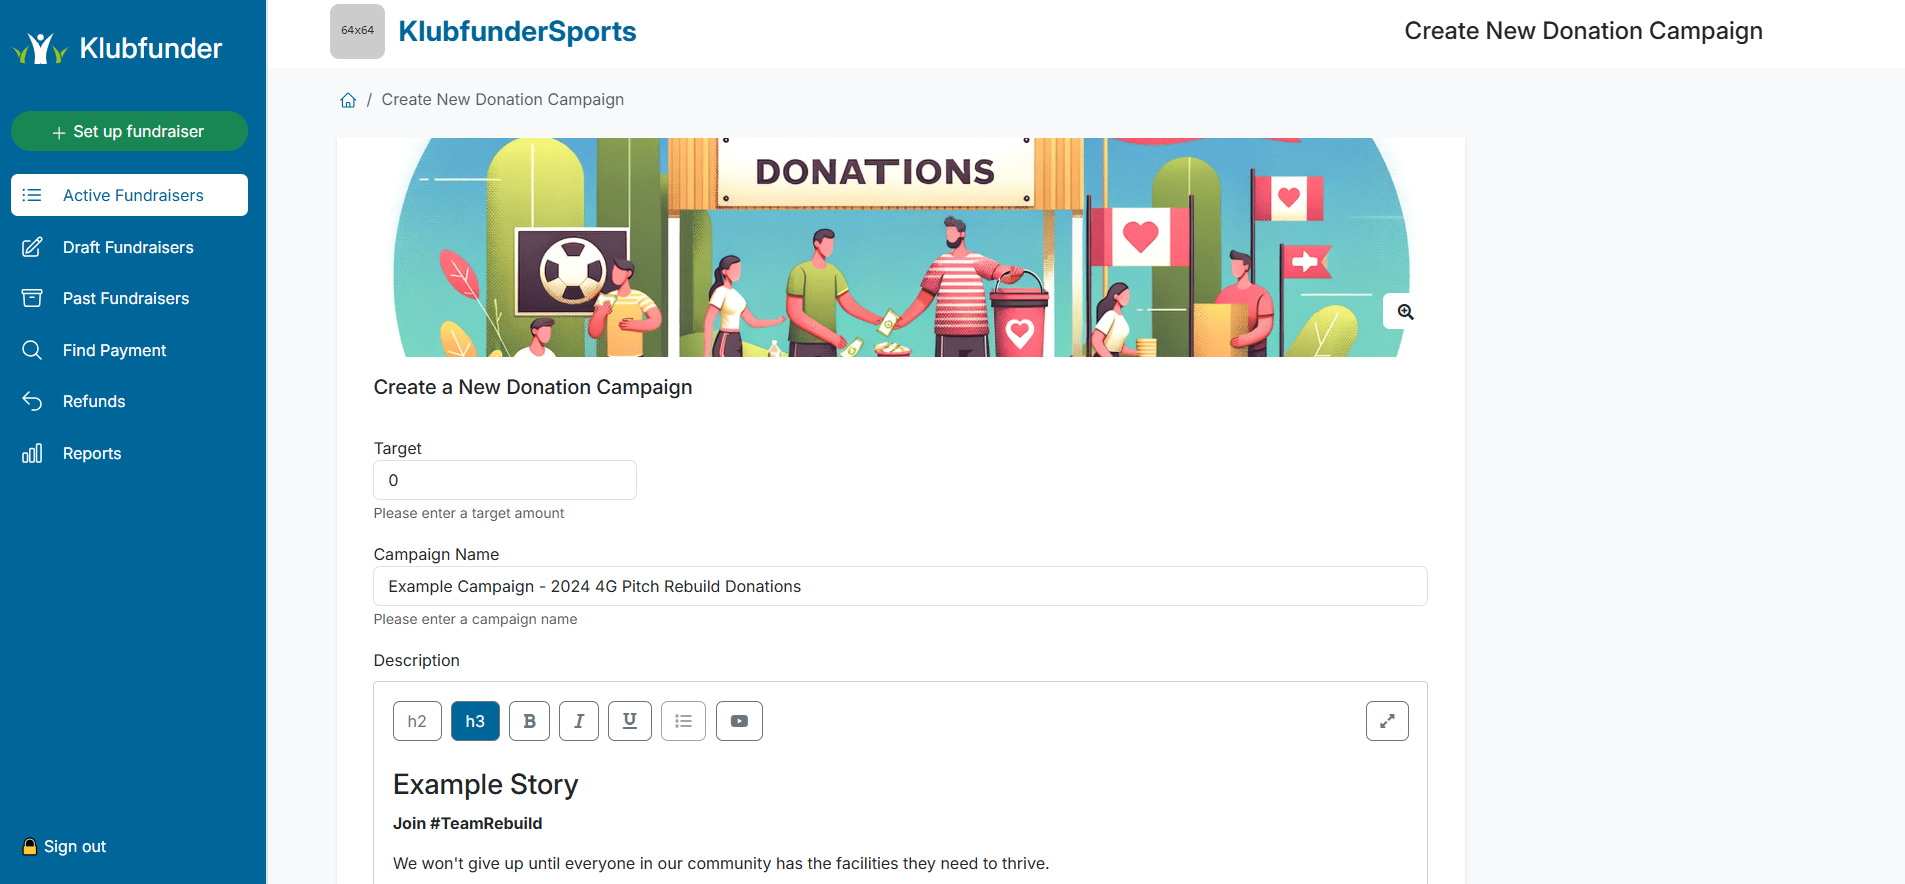
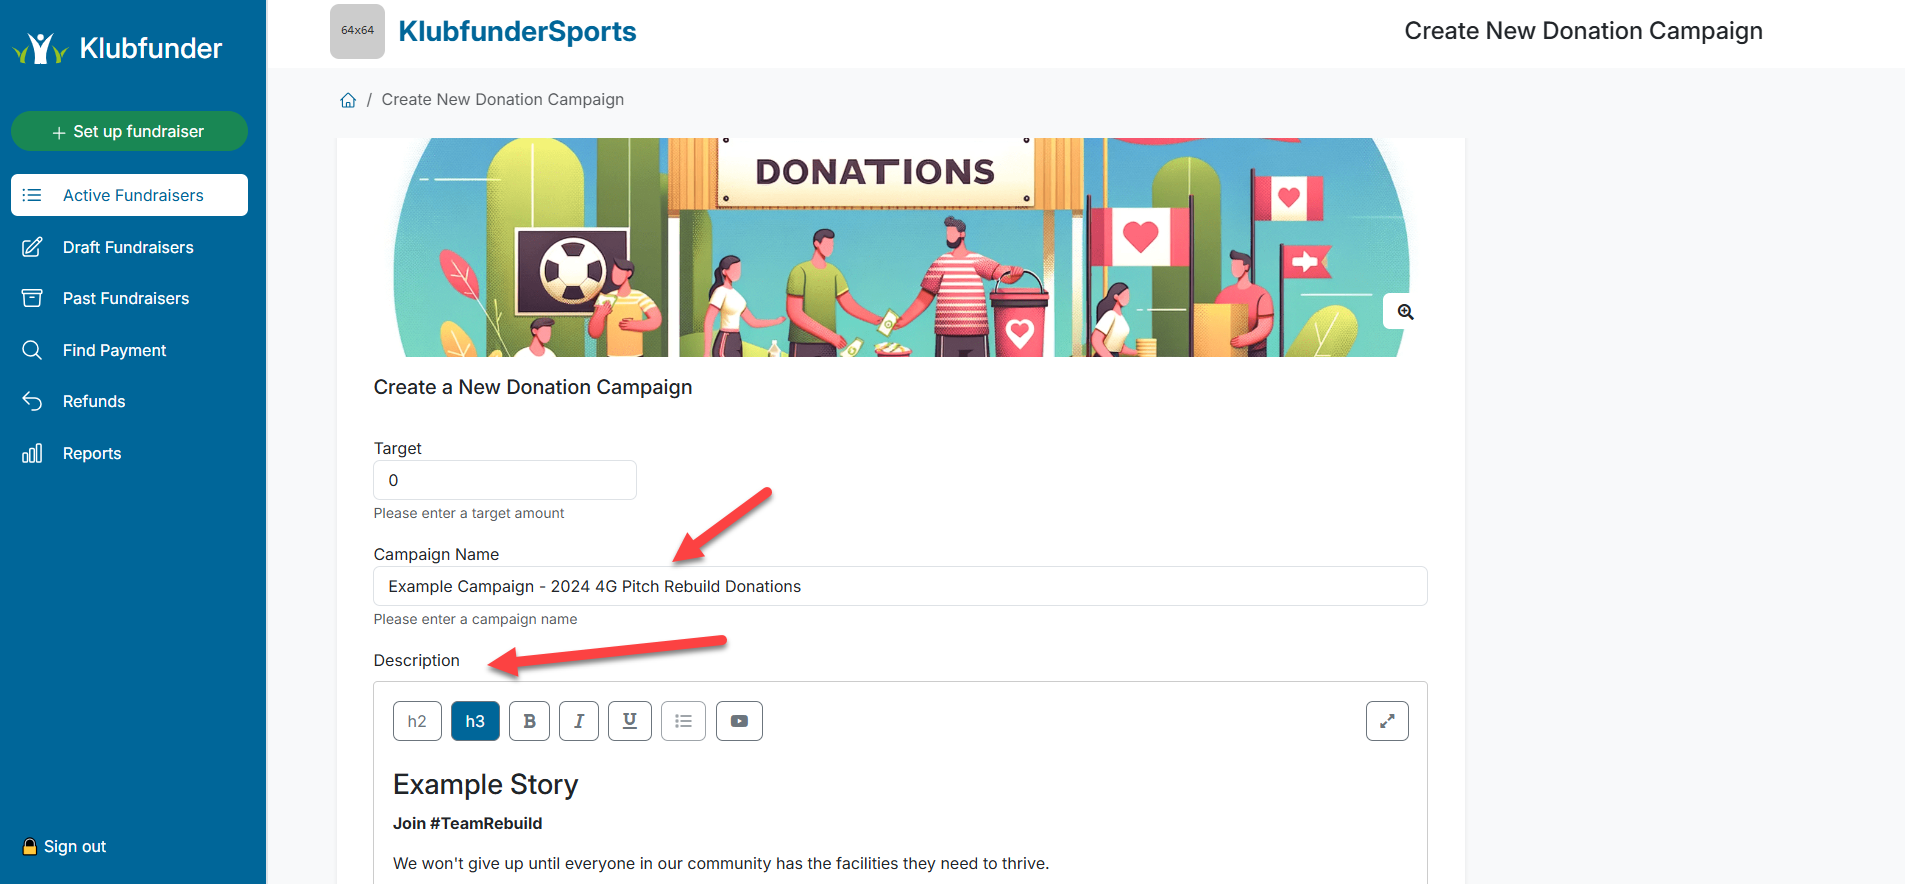
📝 Step 3: Enter Campaign Details
You'll now be taken to the campaign setup screen where you can add the campaign details.
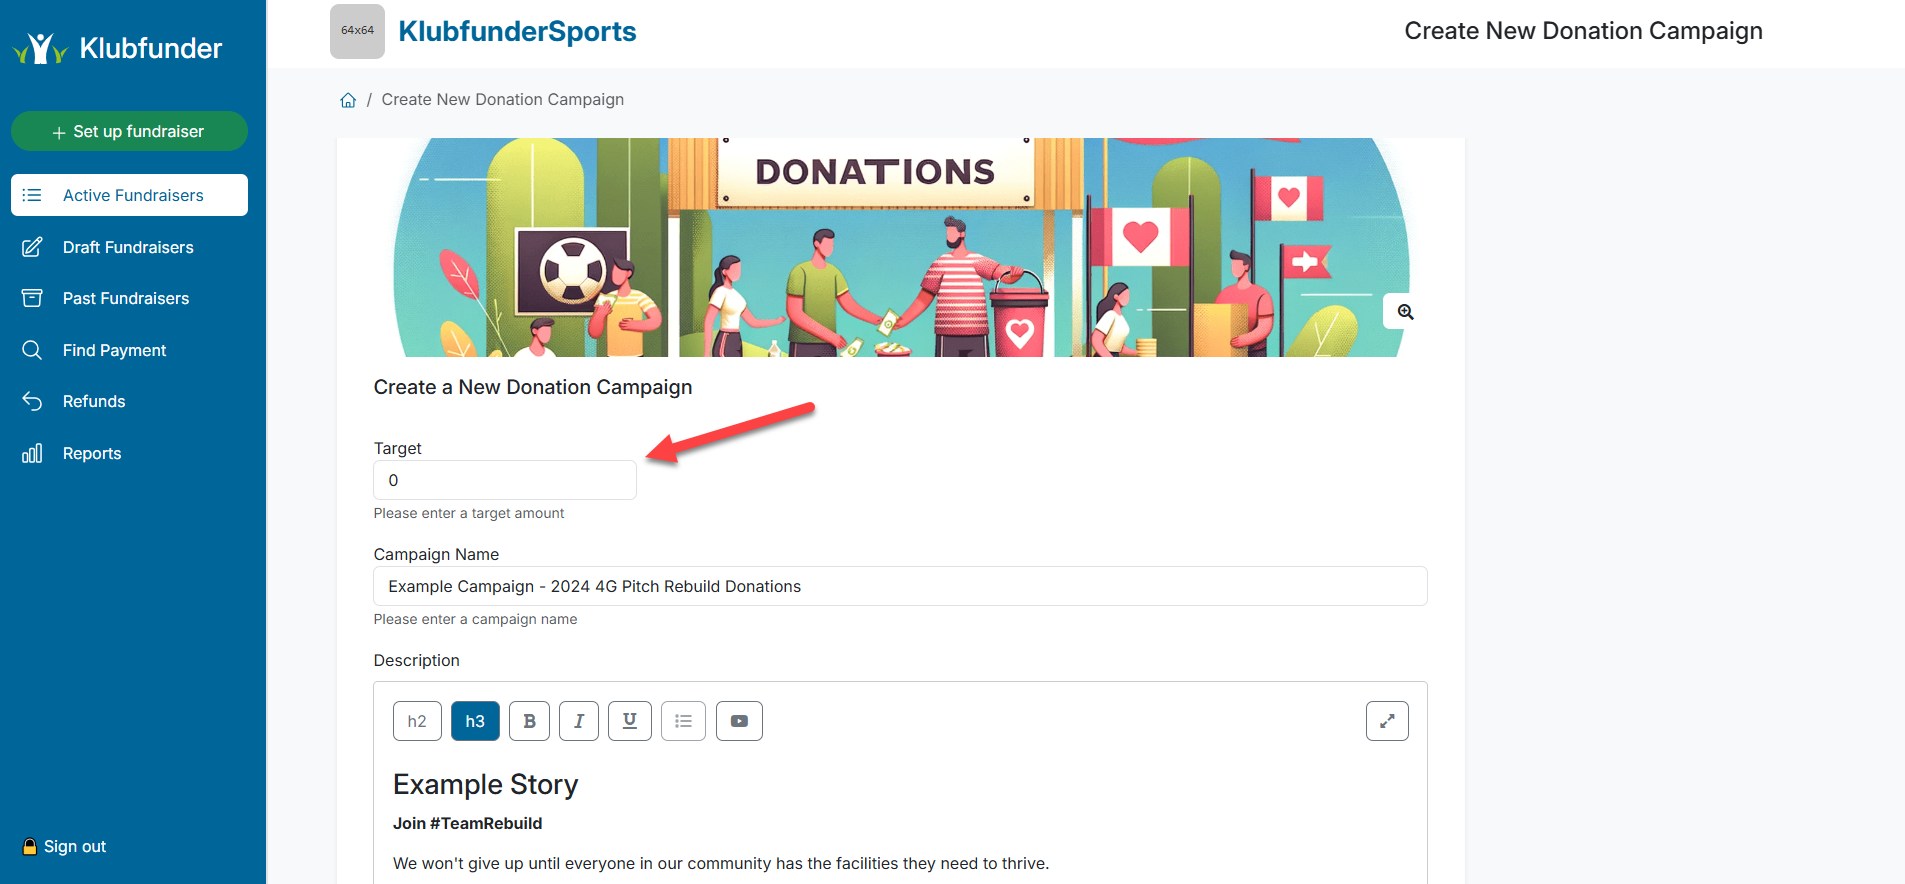
🔹 Set a Fundraising Goal
- Enter the Target Goal — the amount you aim to raise during the campaign.
🔹 Add Campaign Information
- Enter a Campaign Name and write a description.
- Use the description to share the story behind the fundraiser.
- You can add images and video links to make it more engaging.
🔹 Set a Closing Date (Optional)
- You can specify a closing date and time for the campaign by entering them in the date and time fields.
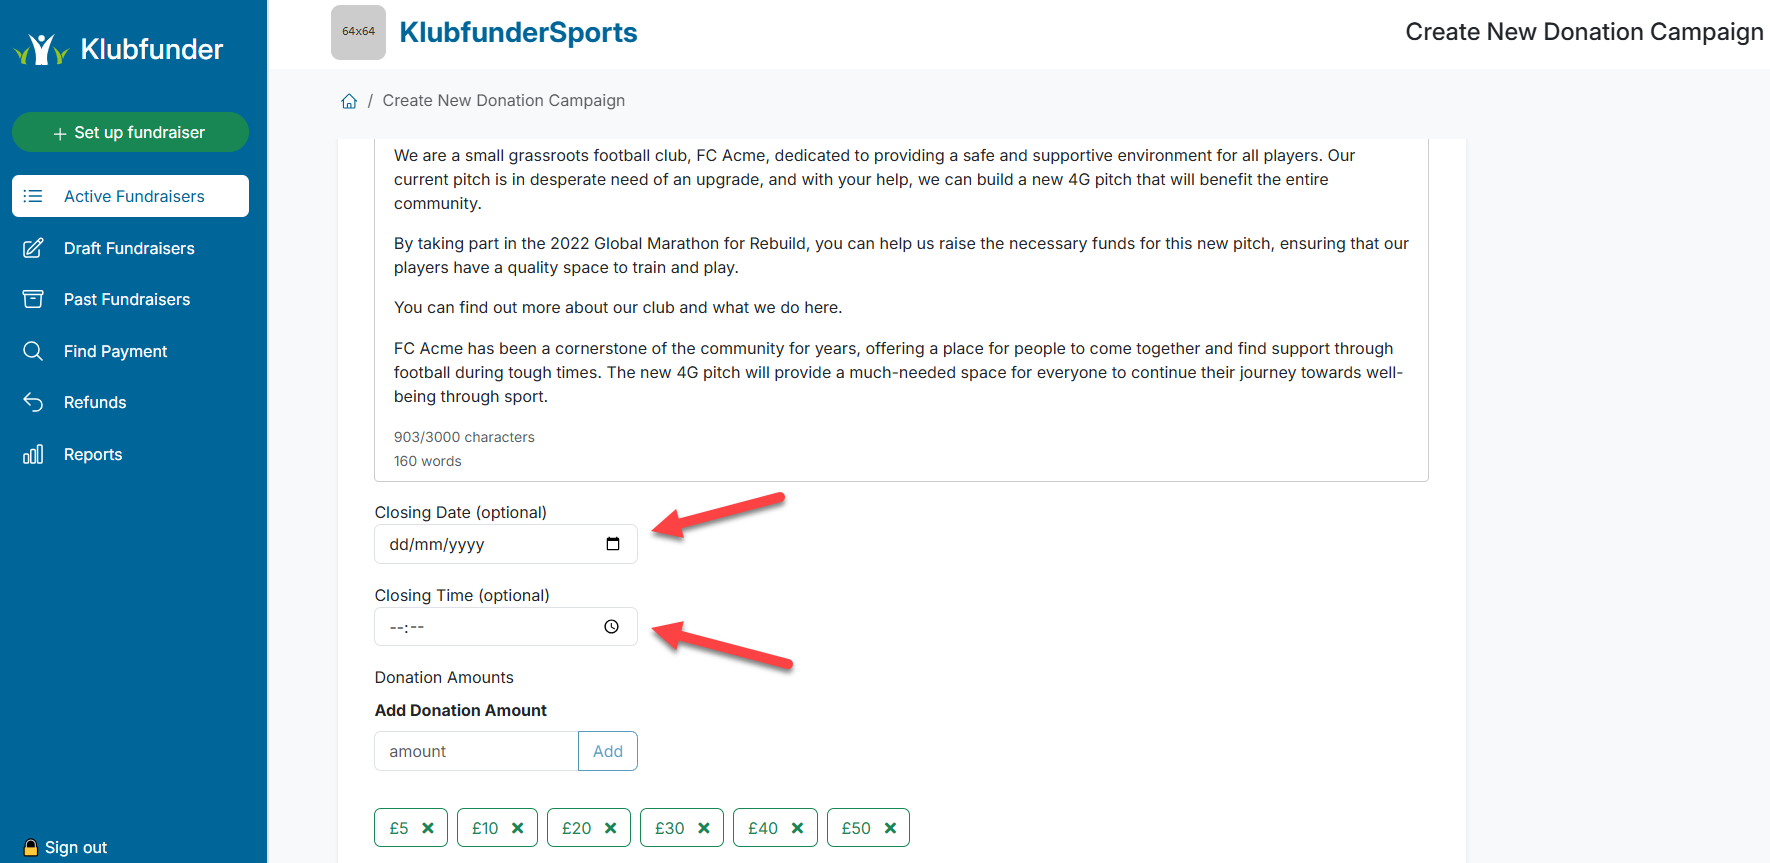
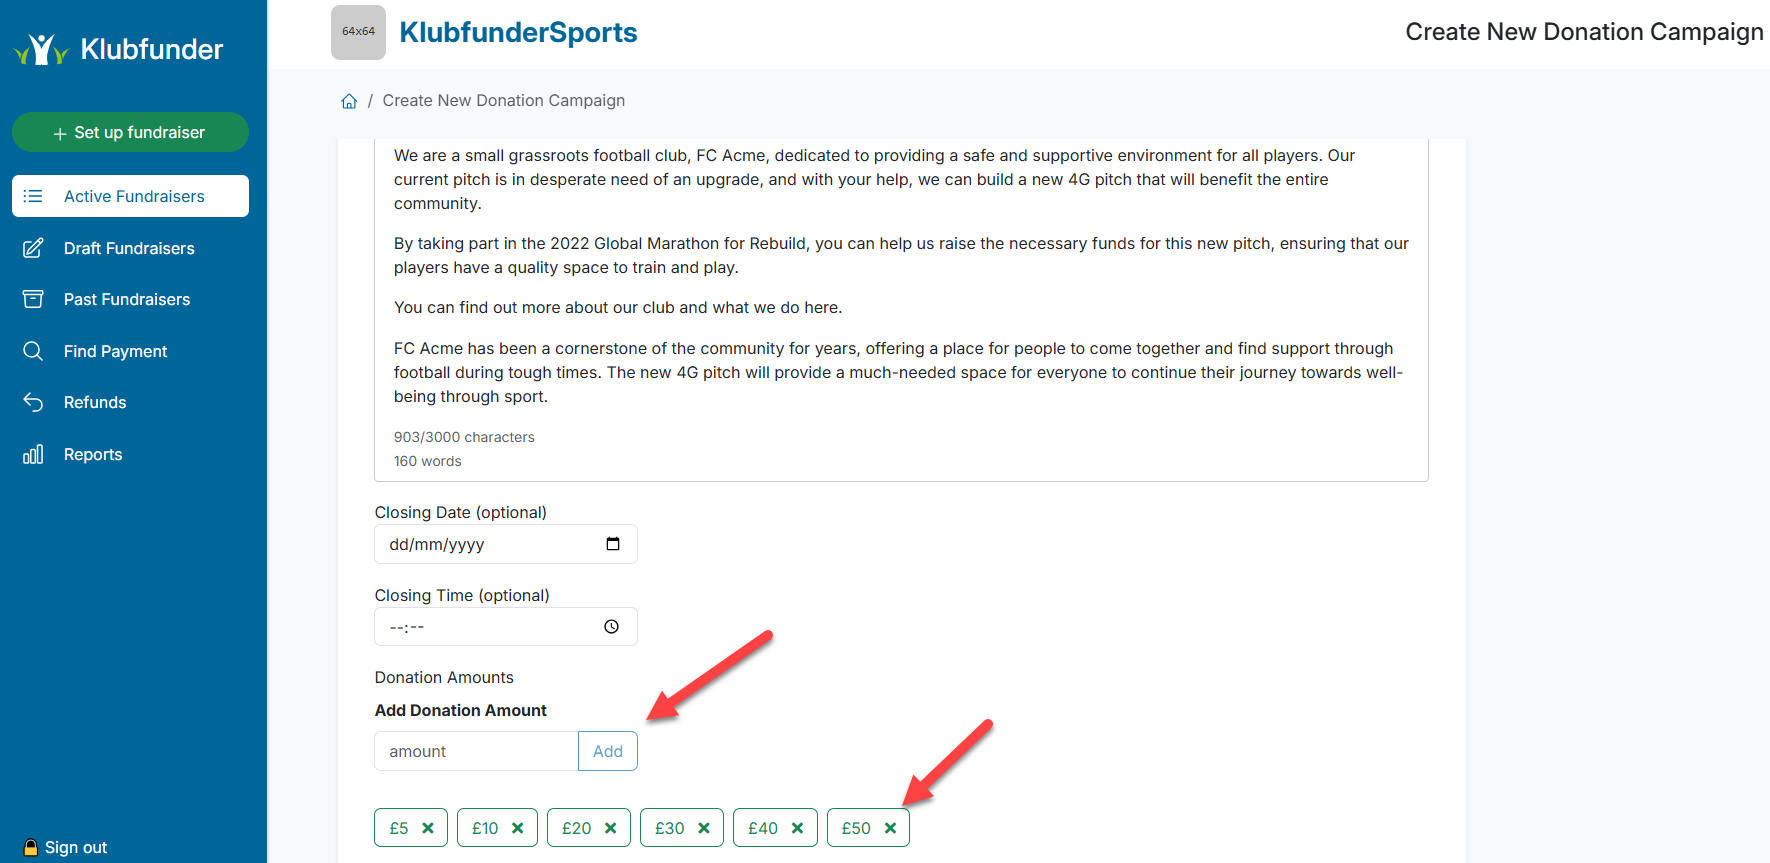
💰 Step 4: Choose Donation Amounts
- Set the donation options available to your club members.
- Some preset amounts are provided, but you can add custom amounts by entering a value and clicking Add.
- To remove a donation amount, click the "X" next to it.
Once all Details are finalised click the Review Button to move onto the next step
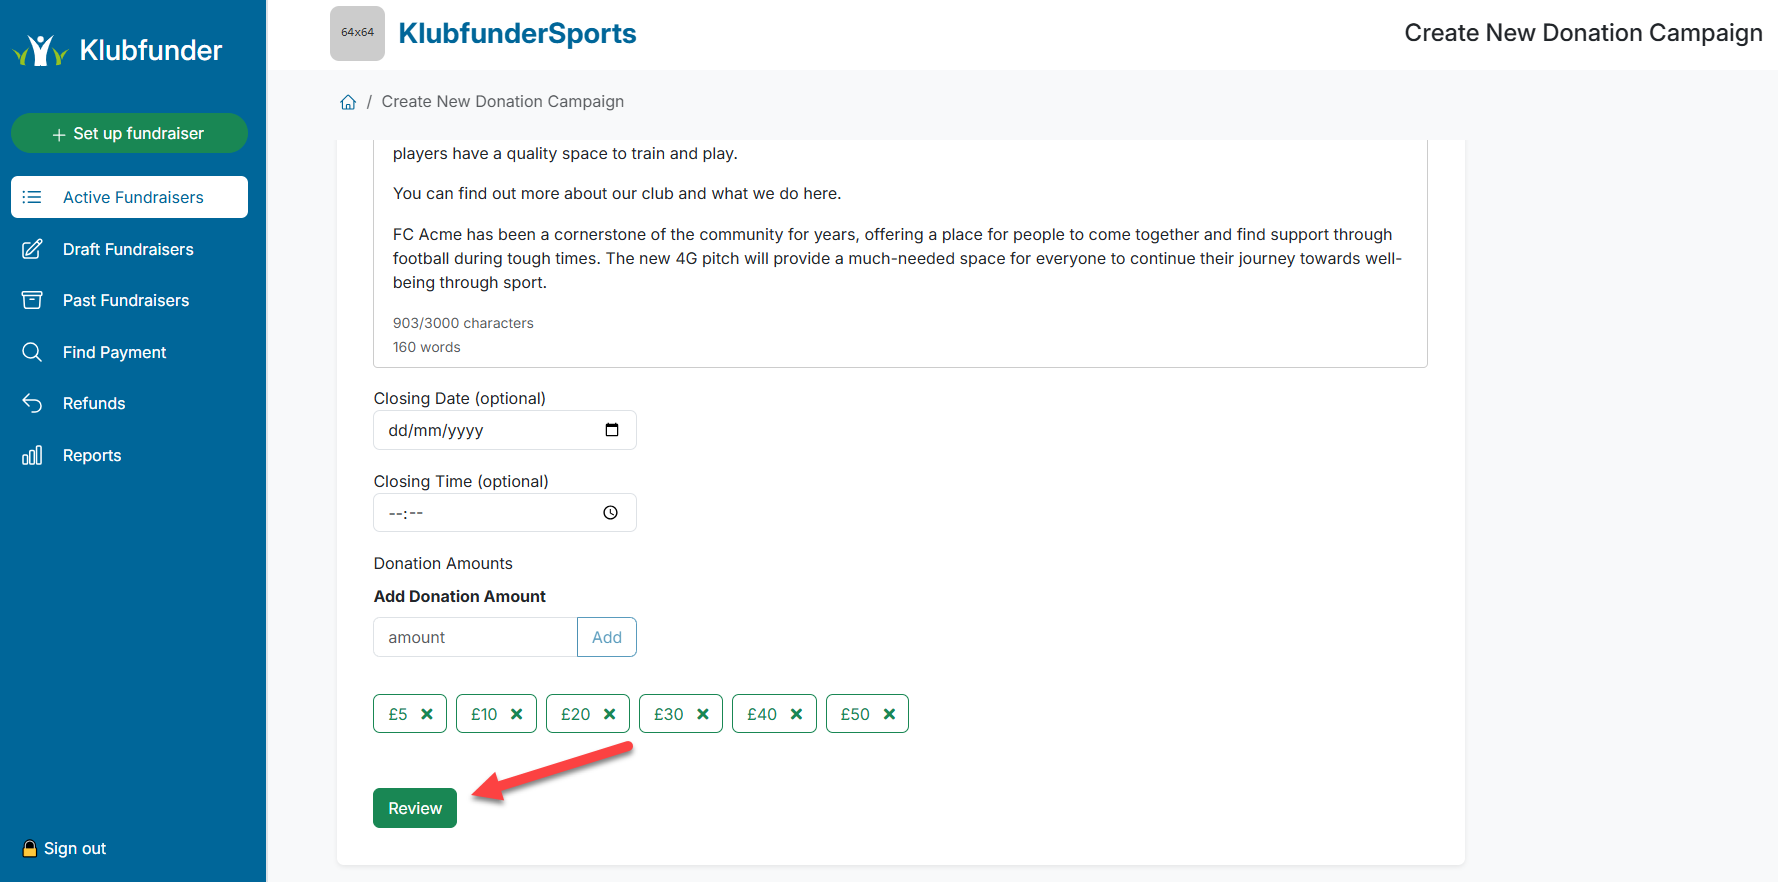
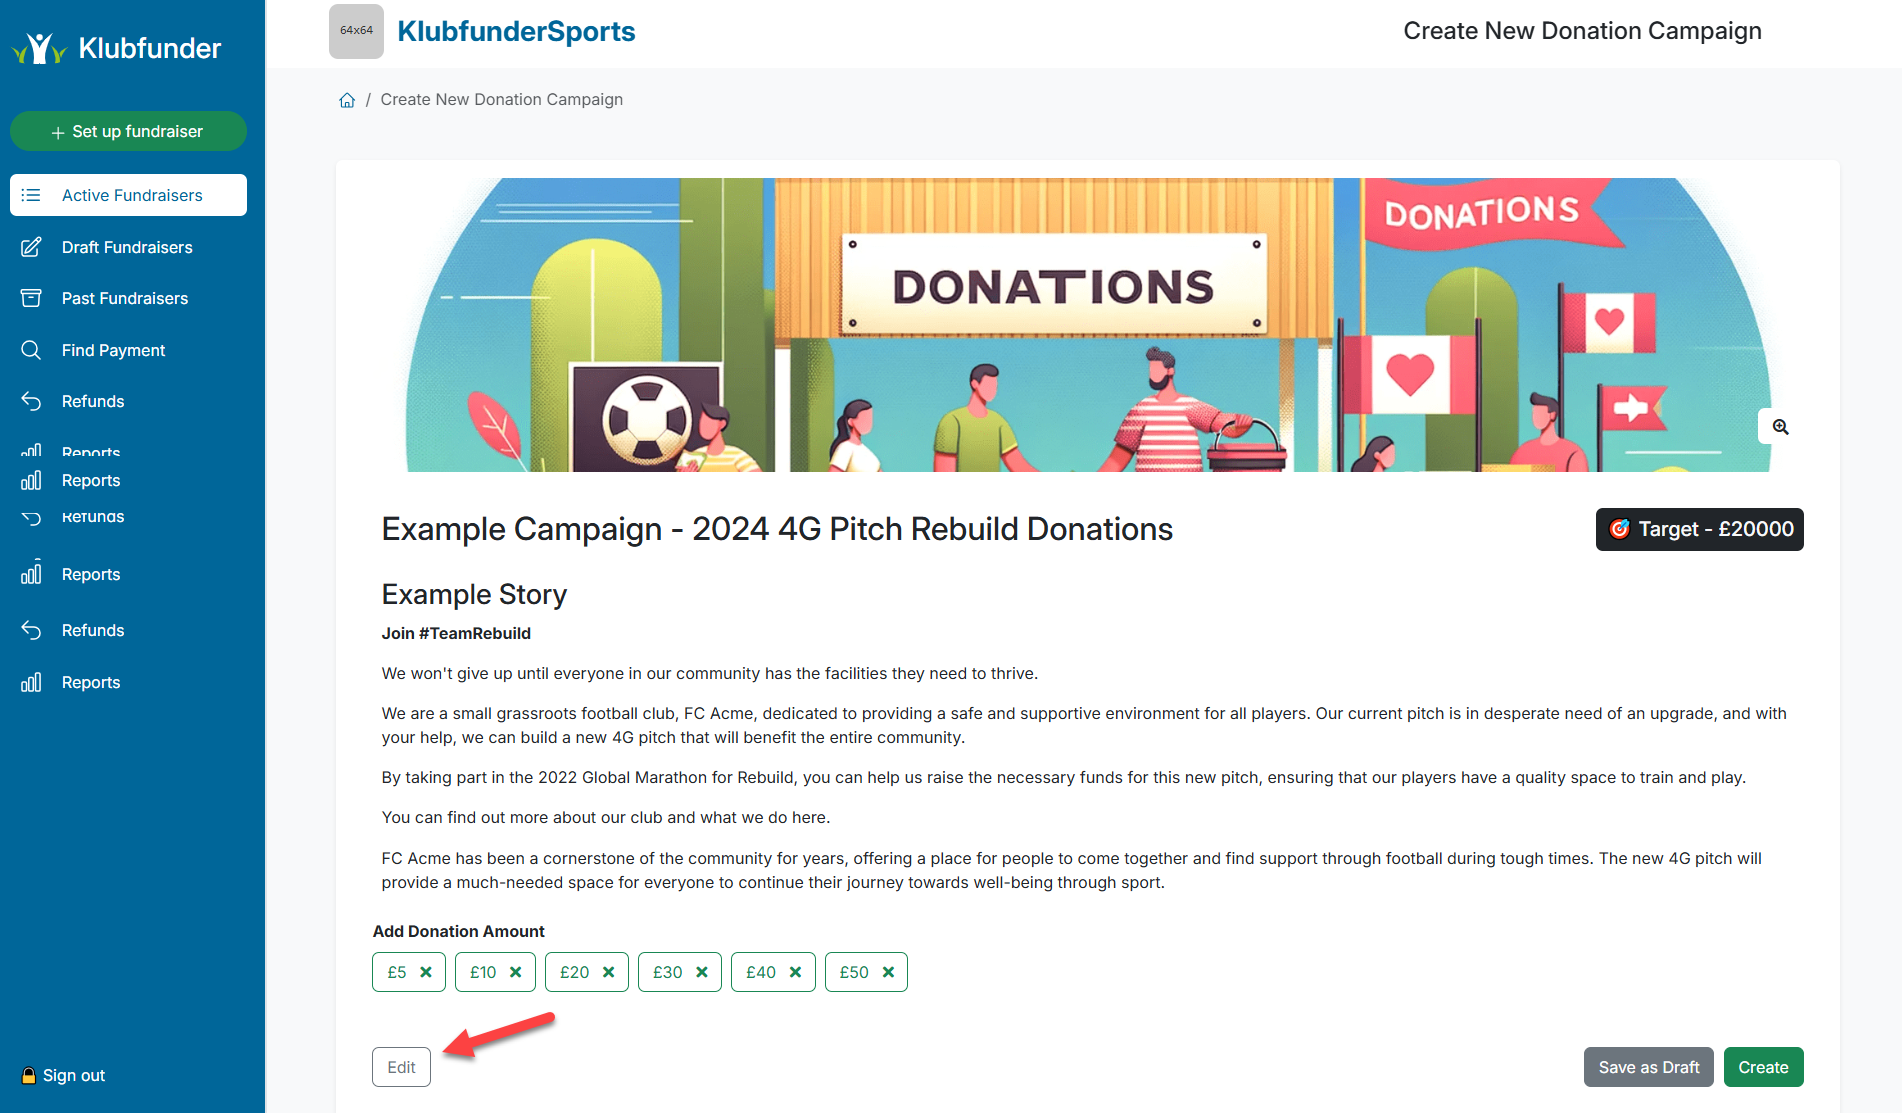
🔍 Step 5: Review Your Campaign
- On the review screen, you can check all details.
- If you need to make changes, click Edit.
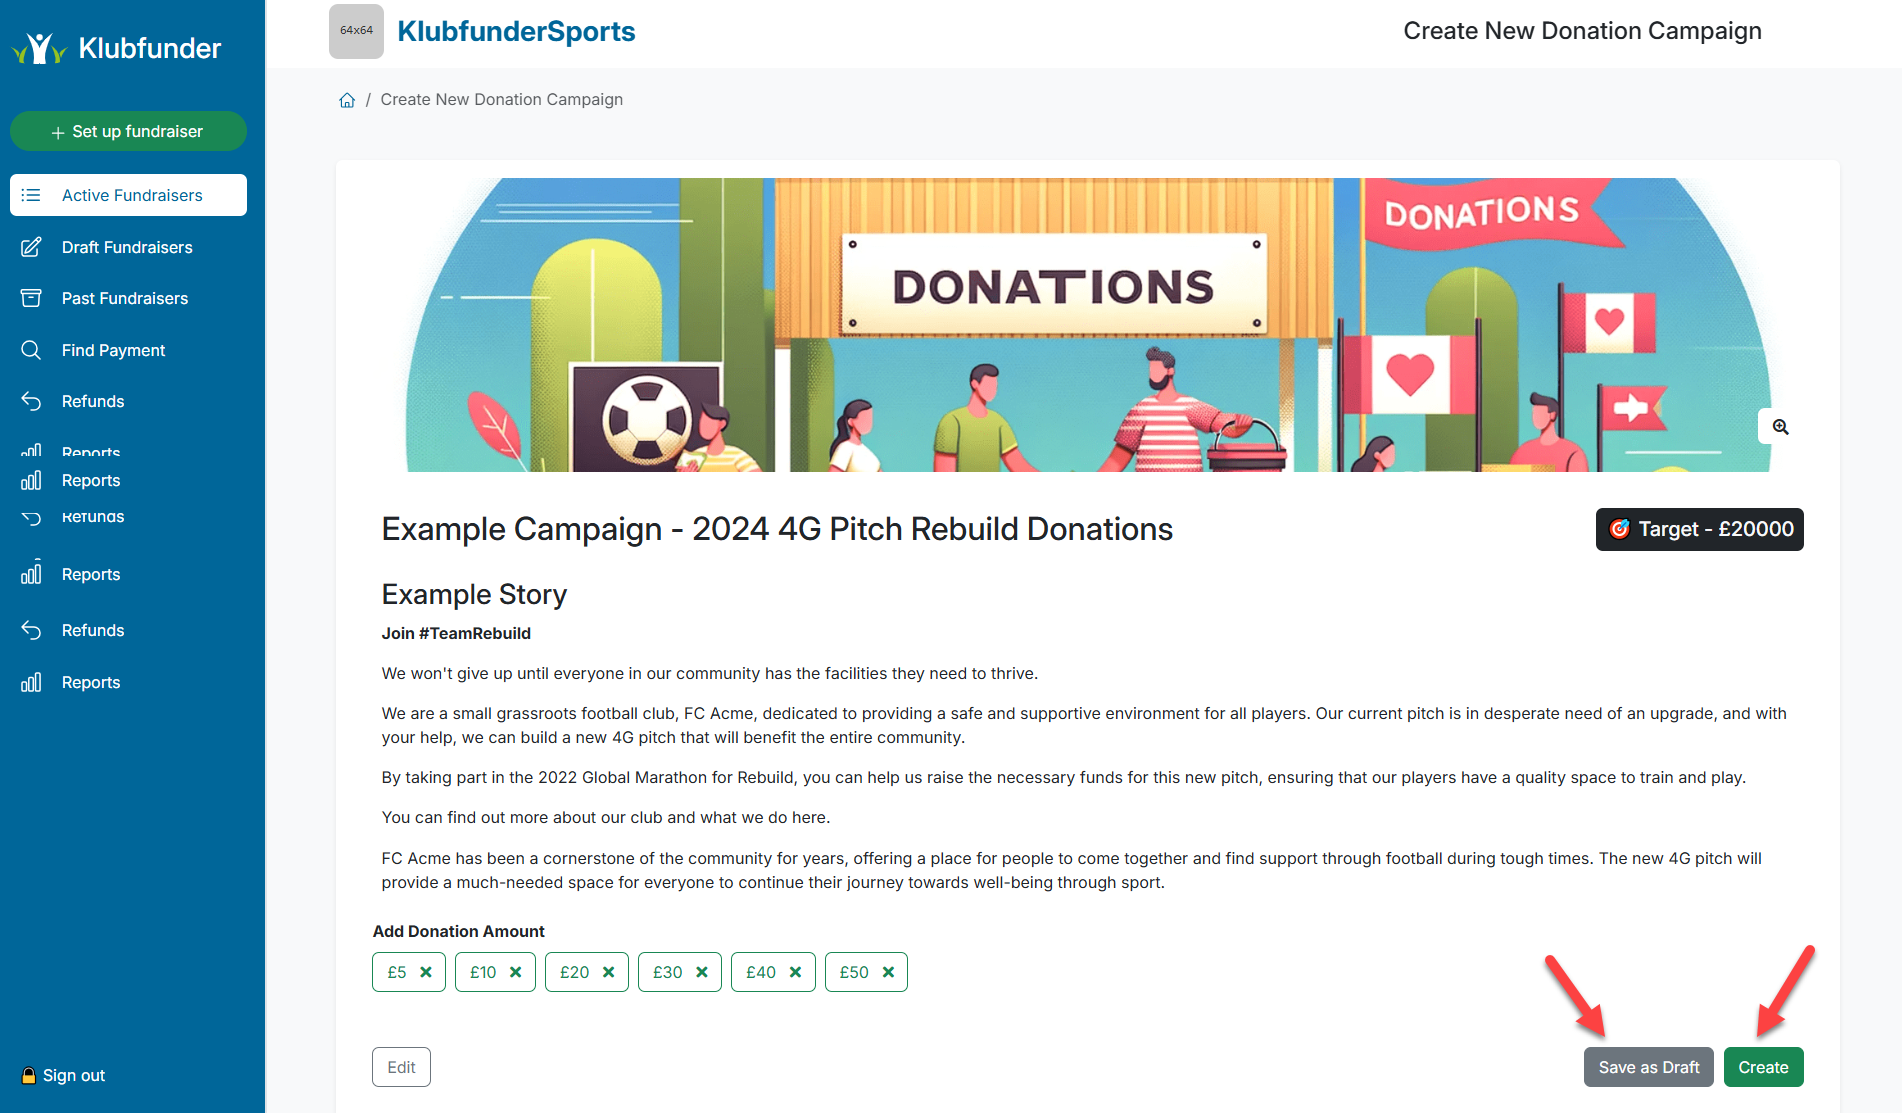
🚀 Step 6: Save or Publish the Campaign
Once you're happy with the details, you have two options:
- Create: Makes the campaign live and available for club members to start donating.
- Save as Draft: Saves the campaign as a draft, allowing you to finalize it later.
✅ Tip: To increase donations, use compelling images and share the campaign link on your club’s website and social media channels.